A quick Tutorial to guide you through the basic steps of editing CMS pages.
Each module within a page has different specifications concerning the textlength. A text that is too long will not fit into a given module meaning that either a part of the text will not be shown or it will break the design. The reason for textlength limitation is for once the different screen sizes for mobile and desktop devices and better readability for the user. Please refer to the Textlength limitations (Character limit) in this documentation.
All Images have to be formatted to the specific asset specifications for each module. You can find the specifications (image resolution) for the stage modules and main modules within this documentation.
To Access the Magnolia CMS you will need the correct URL and a username and password. If you don’t have any of that please contact the Website Team to get your Account Data.
When logging into Magnolia you will see the Main View of the Magnolia CMS. You have the Option to edit Pages or Assets. Next to that under “BRITA” are specified contents like Downloads and the Friendly URL list.

To create, edit or search for pages you can click on the “Pages” Tile which will open the List of all existing Pages. The List contains not only all existing landingpages and magazine pages but also all main website and other pages. The pages are separated by Country in a folder-like structure.
If you are looking for a country specific page or want to create one, you can click on the corresponding country id which will show all pages the countrylist contains.
To search for a specific page you can use the search function on the top right of the page list view.
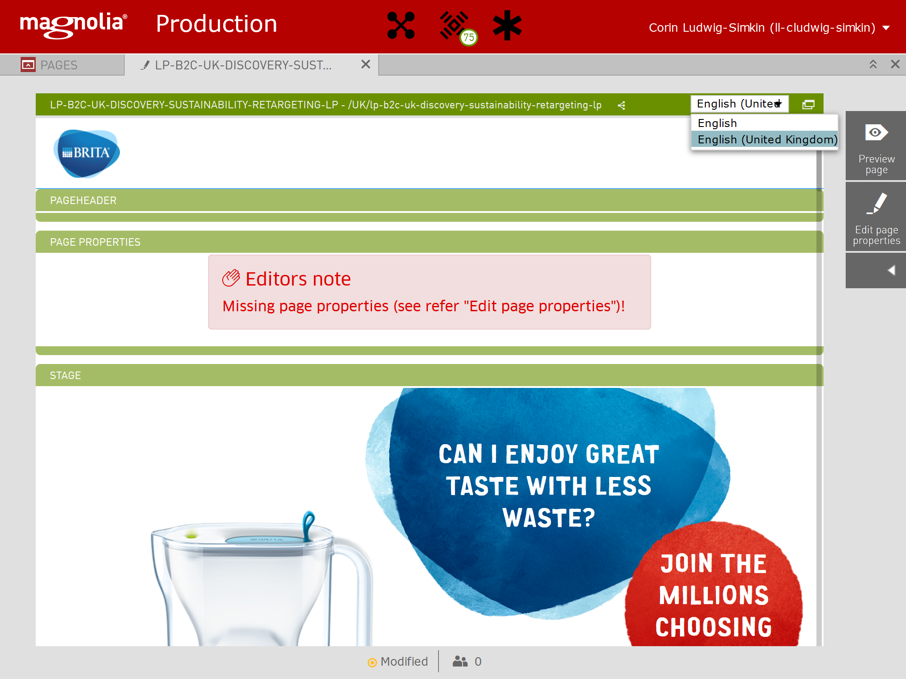
To edit a page you can doubleclick on the specific page name which will open the page in an editable view.
All pages have english as default fallback language. Before starting to edit the page you should always switch to your country specific language otherwise you won’t see all country specific contents but only the fallback contents. Now you can start editing in your countries language.
To edit the friendly URL of a page you can access the according menu after opening the page, switching to your language and selecting edit page properties on the right context menu. Within this menu you will find the tab friendly url where the friendly url can be filled in.
Note: As soon as you start editing other modules within the page the option edit page properties will disappear to make it reappear you will need to close the page in your CMS and reopen it.
You can find further details on the specifications of the friendly URL here

To change all relevant SEO Settings you can click on the page properties field within the page. Now you can see the SEO Module. On the right side of the Magnolia CMS you now have the context menu “Edit component” if you click on that the SEO Properties will pop up.

Here you can edit all relevant Meta Titles, Keywords and everything else SEO relevant. Further information on the SEO menu

You can find additional information on the SEO Page Properties here.
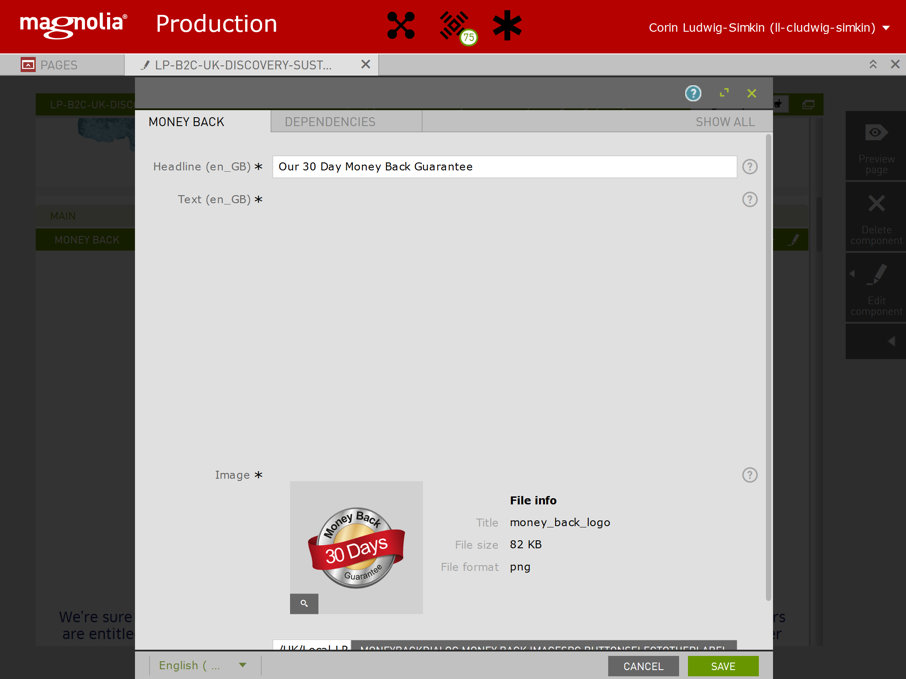
To Edit the Stage Module click on the Stage within the page now you will see the already activated stage module is selected (In the example it is “landing page stage bubble”).
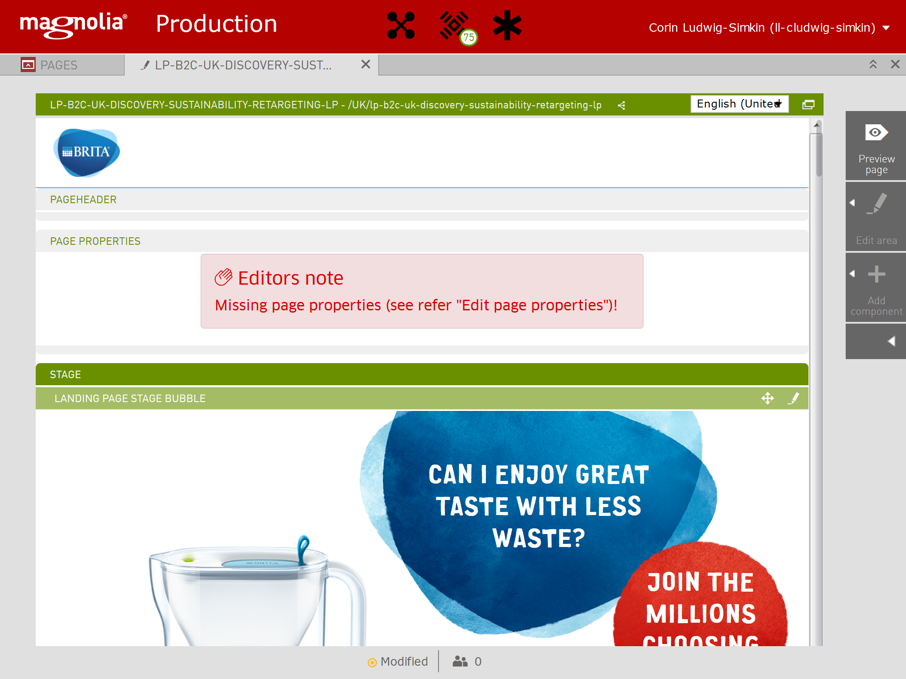
If you click on the activated stage module you will see in the context menu on the right side the option “Edit component”.

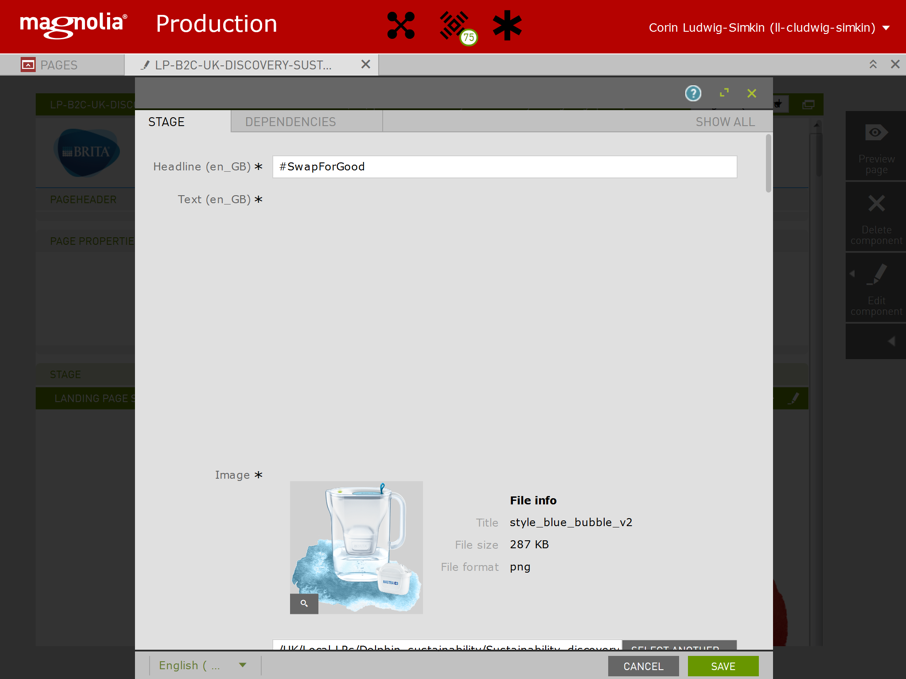
When clicking on that you can edit the stage module.
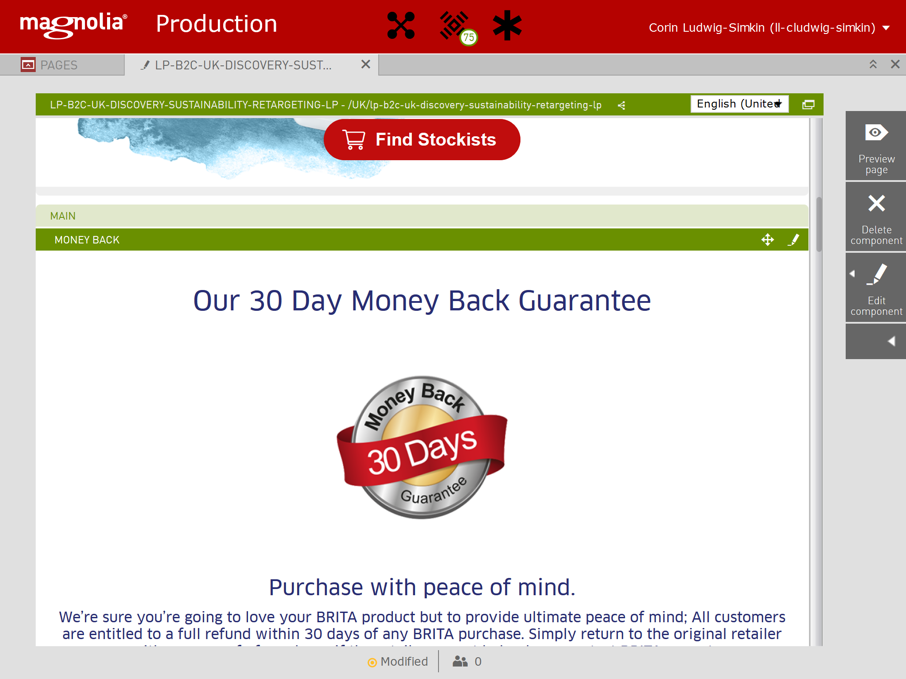
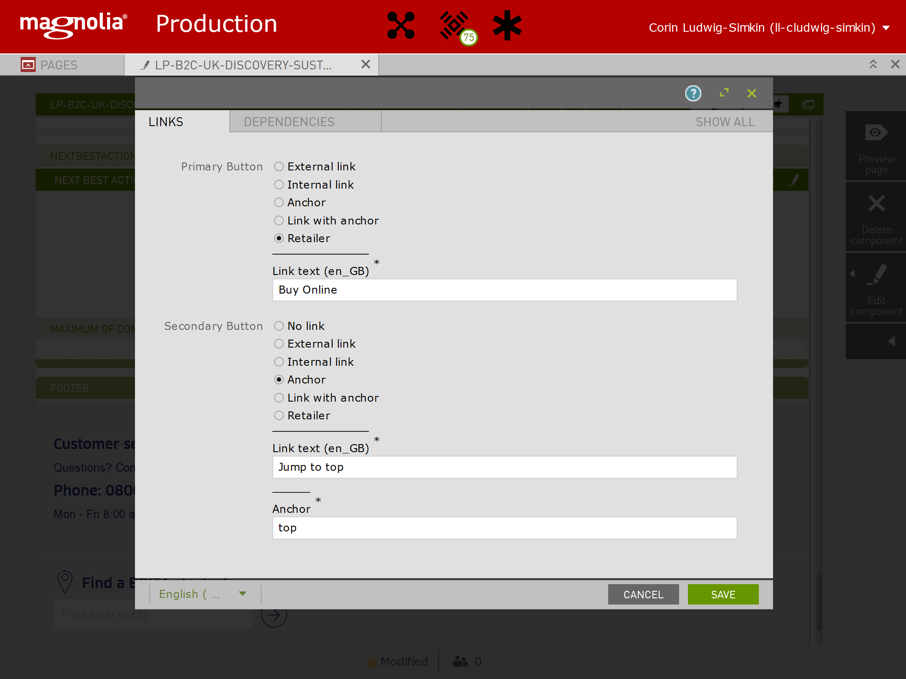
The same workflow can be used to edit a main module. Again you can activate the Main area by clicking on it. This will highlight all containing main modules. By clicking on a specific main module you activate the context menu to “edit component”.
The same procedure works for the Next Best Action Bar (NBA).
To edit or add Assets you can click on the Assets Icon on your Magnolia Startpage wich will open a list view of all assets separated by the specific country folder.
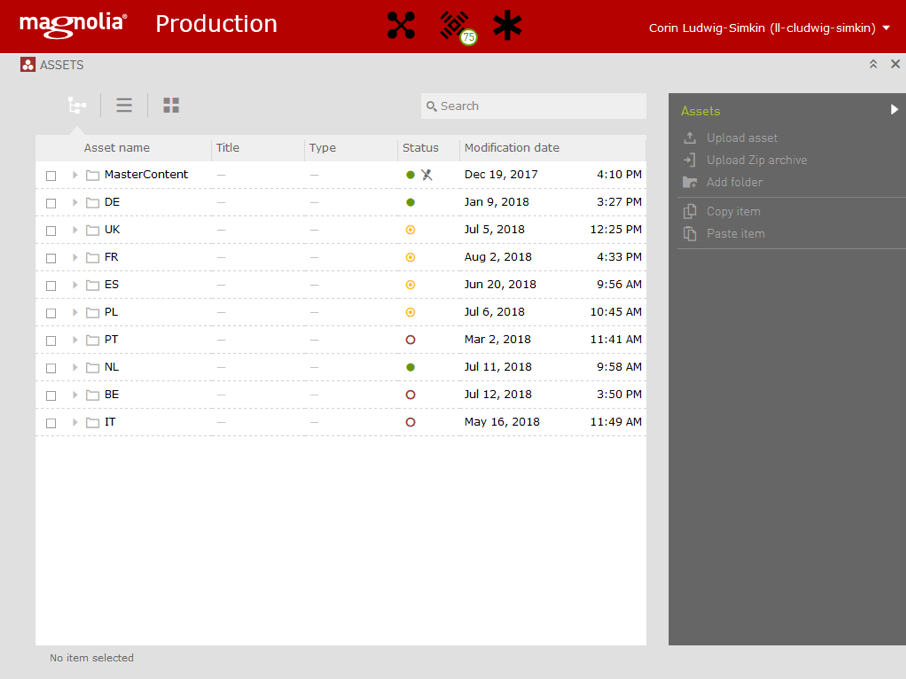
You can now navigate into the specific country folder by clicking on it. There you will find a "Landingpages" & "Magazine-Hub" folder which consist of all the assets for the country specific pages.
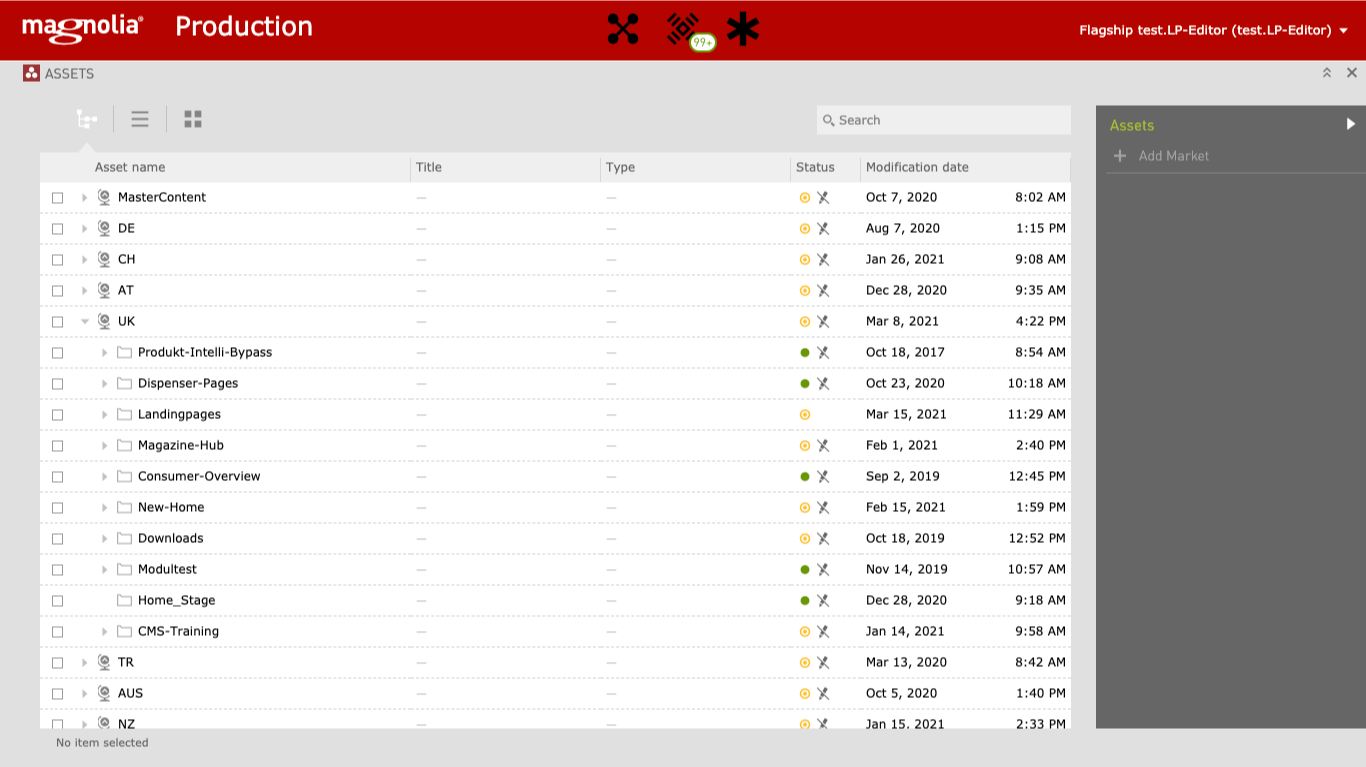
Navigate to the specific folder you want to add assets to or edit assets and click on the specific folder which will show you a list of all assets for that page.
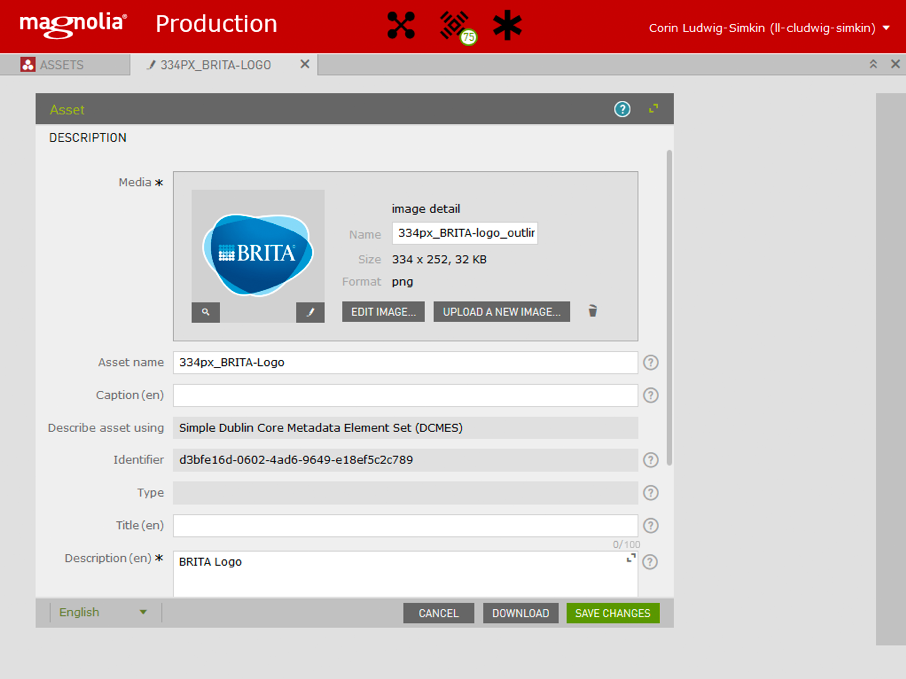
For uploading a new image you should consider the following parts to fill in that are relevant for your visibility on search engines:

You can edit an asset by clicking on it which will activate the context menu on the right side. Here you have the optiion to edit an asset.
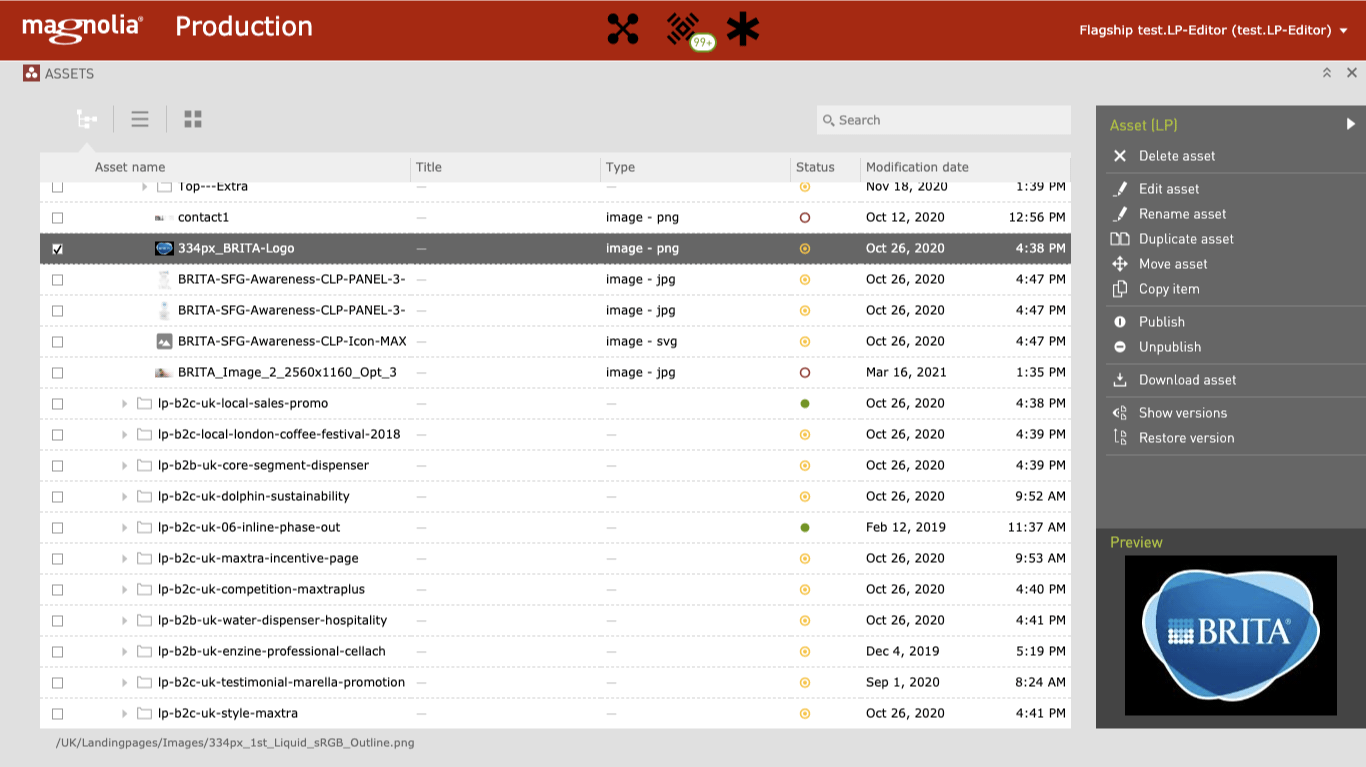
Publishing assets is a necessary step before publishing your landing pages or magazine pages. To publish an asset you need to select the asset in your Assets App and press "Publish" on the right sidebar. Note: The folder the asset is stored in also needs to be published, that works the same way just select the folder an press "Publish" on the right sidebar.
Publish Landing PagesLanding pages can be published by the country editors. Please follow the same process like for publishing local content pages.
If you have an agency assignment on local budget you can contact Manuela Kuhn (kuhn@linienland.de).
In case of any issues or other questions, you can also always get back to the Platform Team via Heike Warrelmann (heike.warrelmann@brita.net).
Publish Magazine PagesThe magazine pages can be published by country editors. To publish a magazine page just move to the page in the CMS and select it. Before publishing check the page thoroughly, especially the friendly URL and also check if all assets are already published. On the right sidebar press "Publish Page" and the publishing will start. As soon as it is published the Status symbol turns from red (unpublished) or yellow (modified) to green (published). Now you can head to the live URL and check if the publishing worked.
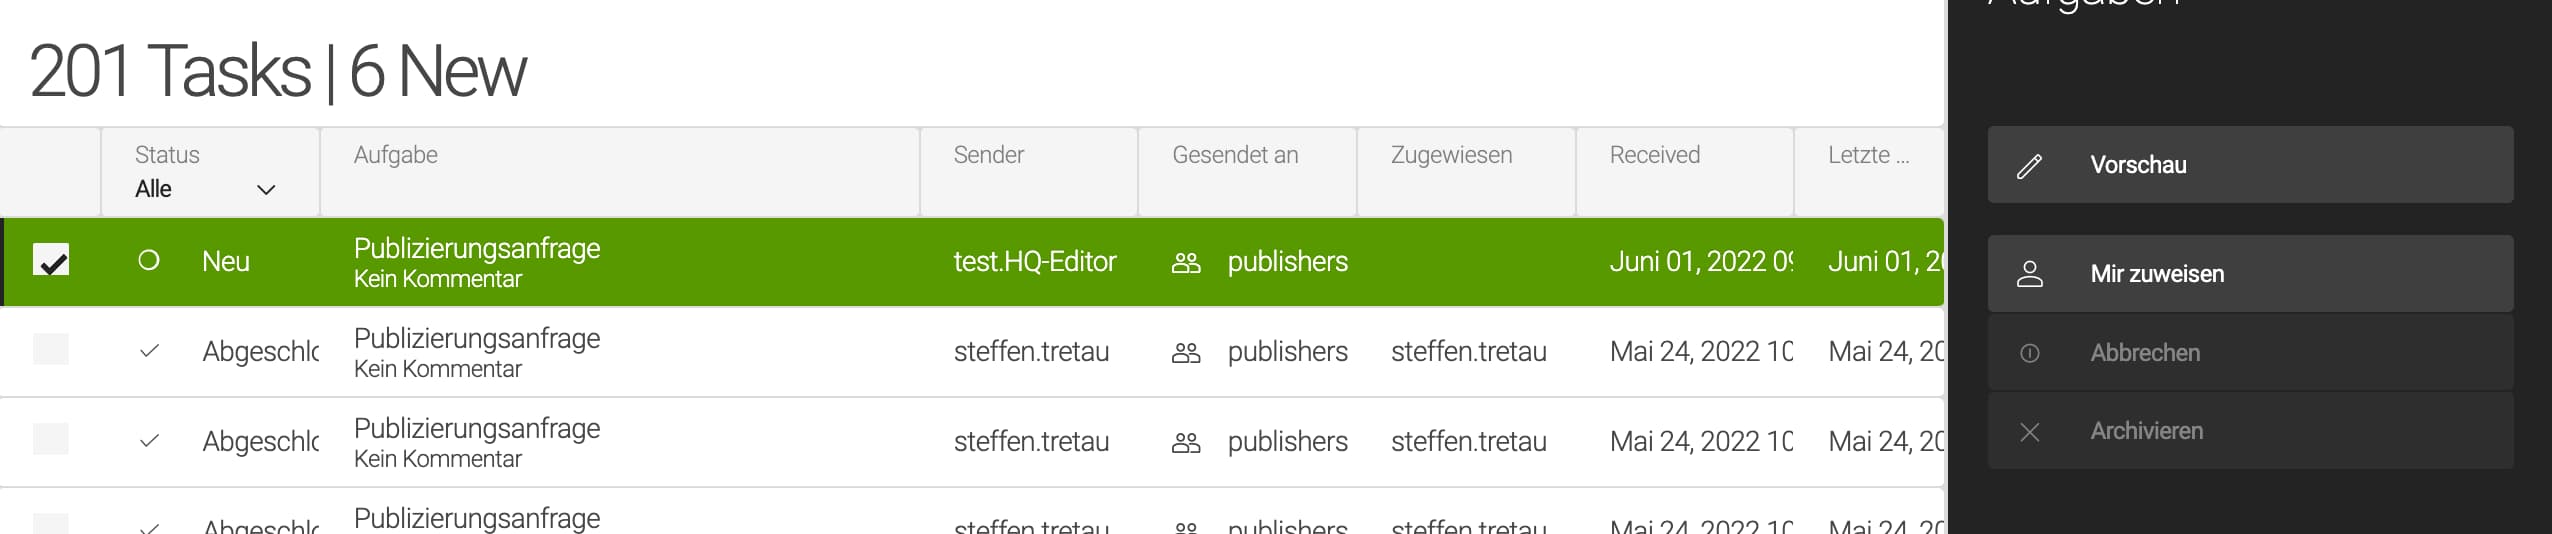
Publish Local Content PagesPages that are tagged with "§localPages" can be published by local editors (§localPage-editor). The publishing process is a bit different than publishing magazine pages. To Publish local pages follow these steps:

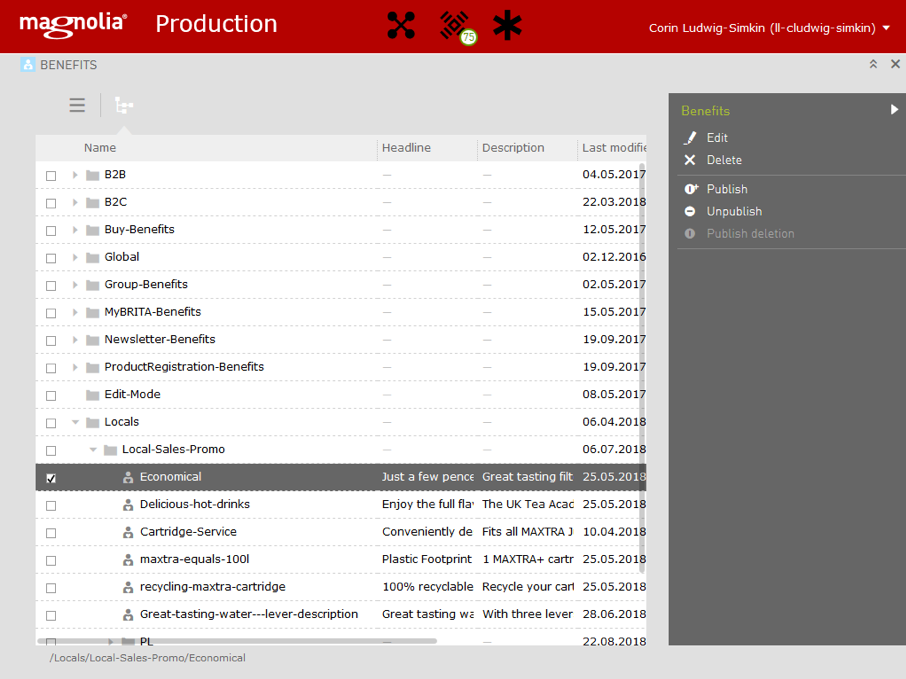
To edit or add Benefits you can click on the Benefits Icon on your Magnolia Startpage wich will open a list view of all Benefits separated by the specific topic folder. Navigate to the Locals folder and select either the "Local-Sales-Promo" or "Dispenser" folder. Now you can Add a new Benefit by clicking the "Add" Option in the Context Menu on the right side.
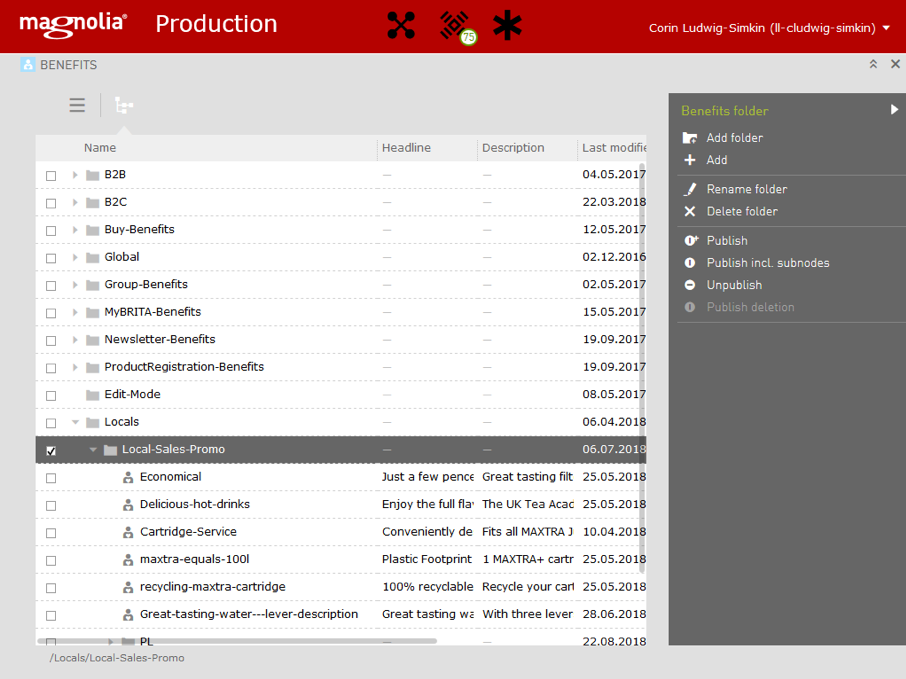
Or you can open one of the folders and edit an existing Benefit by doubleclicking on it.